| “This site contains affiliate links for which OEMDTC may be compensated” |
NUMBER: 08-054-15
GROUP: Electrical
DATE: May 15, 2015
SUBJECT:
Proxi Issue After Mopar Accessory Remote Start Has Been Installed
MODELS:
| 2015 | (UF) | Chrysler 200 200 |
NOTE: This bulletin applies to vehicles built on or before April 29, 2015 (MDH 429XX) equipped with the Radio (Sales Codes RA1).
SYMPTOM/CONDITION:
Technician may experiences a proxi issue after a Mopar accessory remote start has been installed.
DIAGNOSIS:
Using a Scan Tool (wiTECH) with the appropriate Diagnostic Procedures available in TechCONNECT, verify that no Diagnostic Trouble Codes (DTCs) are set. If DTCs are present, record them on the repair order and repair as necessary before proceeding further with this bulletin.
If the customer describes the symptom/condition listed above, perform the Repair Procedure.
REPAIR PROCEDURE:
- Has the USB flash drive been created?
- Yes >>> Proceed to Step #3
- No >>> Proceed to Step #2
- Go to DealerCONNECT>Service>UCONNECT Information & Utilities> Uconnect Dealer software downloads to download the files. Follow the instructions on the web site to create the USB flash drive.
NOTE: A blank USB flash drive ![]() must be used to download the software. The USB flash drive
must be used to download the software. The USB flash drive ![]() should be 2 GB or larger.
should be 2 GB or larger.
NOTE: If the dealer cannot download the software, make sure you have proper security access. If not have the Service Manager or Shop Foreman download the software update.
- Turn the ignition on and check if the vehicle is still in ship mode.
- The vehicle must be in Customer Mode to update the radio. Is the vehicle in Ship Mode?
- Yes >>> Proceed to Step #5
- No >>> Proceed to Step #6
- Use the scan tool (wiTech) to put the vehicle into customer mode.
- With the ignition on and radio powered up, insert the USB flash drive with new software into USB hub.
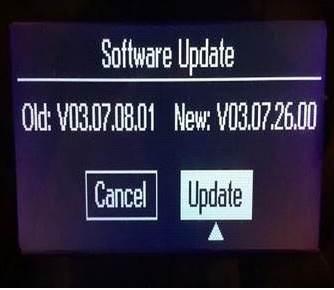
- The next screen display will have the old and new software levels. The radio will be updated to 03.07.26.00, see (Fig. 1).
- Is the radio software level at or higher then the update to level (New) 03.07.26.00?
- Yes >>> This bulletin doesn’t pertain to this vehicle, normal diagnostics need to beperformed.
- No >>> Proceed to Step #9
- Turn right rotary knob clockwise to select ‘Update’ and press the ‘BROWSE/ENTER’ button in the center of the right rotary knob.
Fig. 1 Old vs New
- The software update will take approximately two (2) minutes.
NOTE: If the software update process is interrupted/aborted, the process should be restarted.
NOTE: Do not cycle the ignition or touch the radio during the update process.
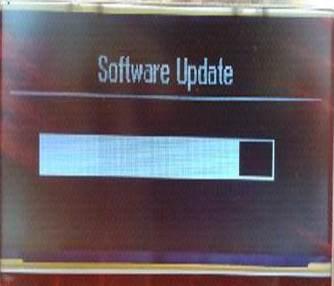
- A progress bar will appear to indicate that the updated software is in progress. The screen will go blank for a few seconds during the reflash, but the progress bar will come back, see (Fig. 2).
Fig. 2 Software update progression
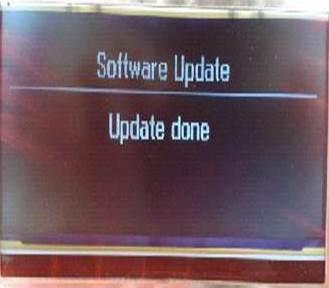
- At the end of the software download this screen will be shown, see (Fig. 3).
NOTE: The radio update is NOT complete at this time.
Fig. 3 Software update complete
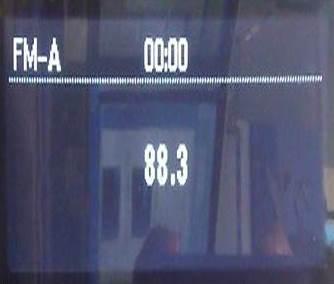
- After approximately 1 minute the radio system will automatically perform a reset and the display should return to a normal operating screen, see (Fig. 4).
Fig. 4 Reset after update
- The software update is completed. Remove the USB flash drive from the USB port.
NOTE: Use the wiTech to put the vehicle back into Ship Mode if needed.
POLICY:
Reimbursable within the provisions of the warranty.
TIME ALLOWANCE:
| Labor Operation No: | Description | Skill Category | Amount |
|---|---|---|---|
| 18-60-02-FA | Radio, Check Software Level & Perform Software Update (0 – Introduction) | 6 – Electrical and Body Systems | 0.2 Hrs. |
| 18-60-02-FB | Radio, Software – Create USB Flash Drive (One Time Only) (0 – Introduction) | 6 – Electrical and Body Systems | 0.2 Hrs. |
NOTE: The “One Time Only” LOP is used one time per dealer when downloading the software onto a USB flash drive. The dealer can only use the download LOP, one time for each of the radios listed.
NOTE: The expected completion time for the flash download portion of this procedure is approximately 3 minutes. Actual flash download times may be affected by vehicle connection and network capabilities.
FAILURE CODE:
The dealer must choose which failure code to use. If the customer came in with an issue and the dealer found updated software to correct that issue, use failure code CC, for all other use failure code RF.
- If the customer’s concern matches the SYMPTOM/CONDITION identified in the Service Bulletin, than failure code CC is to be used.
- If an available flash is completed while addressing a different customer concern, failure code RF is to be used.
| CC | Customer Concern |
| RF | Routine Flash |
 Loading...
Uconnect Updates – Chrysler Dodge Ram Jeep Fiat


